How to Re-Pot a Coffee Tree
Summary: Re-potting or "potting up" is an important part of coffee tree care that helps with new and healthy growth, and these 5 easy steps that include tips for re-potting make the process a breeze.
Re-potting (or “potting up”) a young coffee plant is an important part of helping it grow and stay healthy and this post contains my advice and instructions for how to go about it. Note: If you have multiple young coffee plants in one pot, I encourage you to read this post about separating your coffee trees first.
Why is re-potting a coffee plant necessary?
Let’s start with the most obvious reason we tend to re-pot plants: They’re growing out of (and sometimes escaping!) their current pot. Roots need space to grow and foliage needs roots to keep it upright. A big plant in a small pot can easily start to fall over or some even start to seek more soil elsewhere. Roots that don’t have space to grow attempt growing outside of the container’s drainage holes only to end up dead when exposed to light, and the rest get overcrowded inside the pot and will eventually turn into a knotted, tangled mess of a root ball that can stunt the plant’s growth.
In short, potting-up gives a plant’s roots empty space to grow into and plants need that for proper healthy growth—like when you were a kid and had to buy the next size up shoe each year.
In other cases re-potting is more about regular maintenance instead of going up in pot size. This is because re-potting is good for checking on the plant’s root ball to see how tightly or loosely packed the roots are and to inspect them for bugs. Re-potting is also done to freshen up the soil on a regular basis, which gets compacted after many months of watering and looses nutrient content. Therefore, re-potting helps aerate the plant’s roots and provides it with fresh food (compost).
When is the best time to re-pot a coffee plant?
Since coffee trees prefer loamy, nutrient-rich soil, re-potting a coffee plant should be done every year or two if possible, even when its at its largest size and not moving up in pot size. It should be done when the plant is actively growing (not dormant) and the weather should be comfortable in order to not shock the plant in any way.
In Southern Canada, I re-pot mine in early summer (late May-June), after moving them outside and into my greenhouse (which is a few degrees warmer than the outdoor temps), and after they’ve had a week or two to get used to the new conditions in there. I aim for day-time temperatures to be consistently above 17° Celsius with nighttime temps that don’t drop below 14°C. (For reference, in coffee growing regions ideal temperatures for Arabica coffee plants is 17-22°C).
Re-potting Coffee Plants Made Simple
Things you’ll need:
- A New Pot
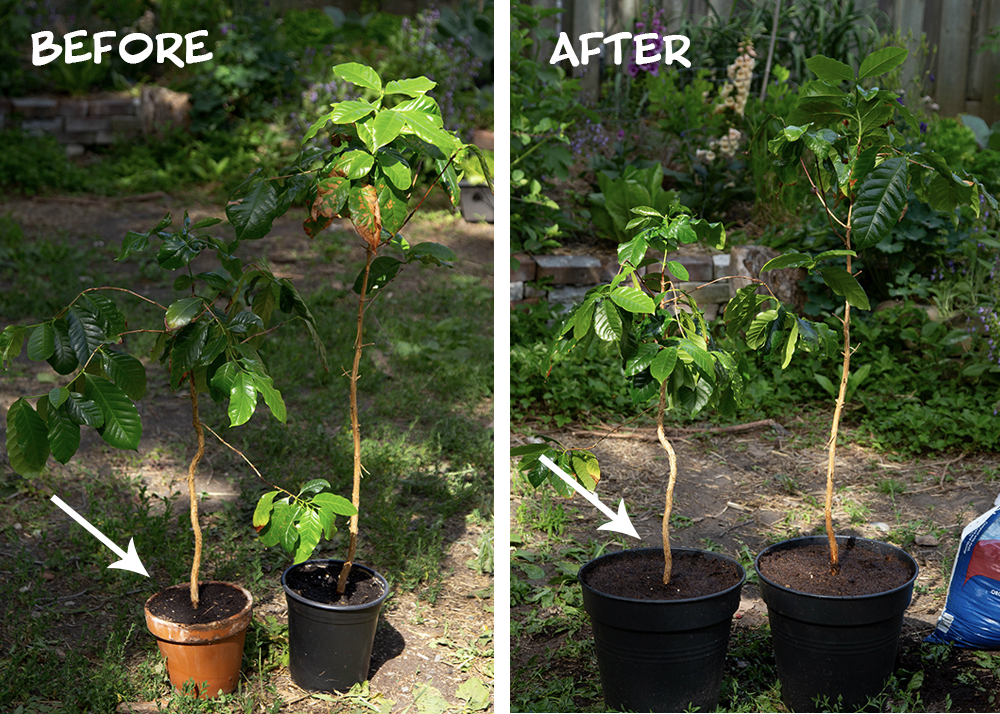
The “up” in “potting up” infers moving up a size, and this is typically what we’re doing when re-potting, though at some point you’ll have reached the maximum pot size, which for a coffee plant should be a minimum depth of 10″ for the plant to grow large enough to produce flowers and fruit). If you’re “potting up” you’ll want to choose a new pot size that’s anywhere between 2-6″ (inches) larger in both height and diameter than the pot it’s current in. When it comes to choosing the pot shape taller/deeper pots are better for directing root growth downwards. Coffee grows a taproot so don’t choose wider, shallower pots. - Soil Mix
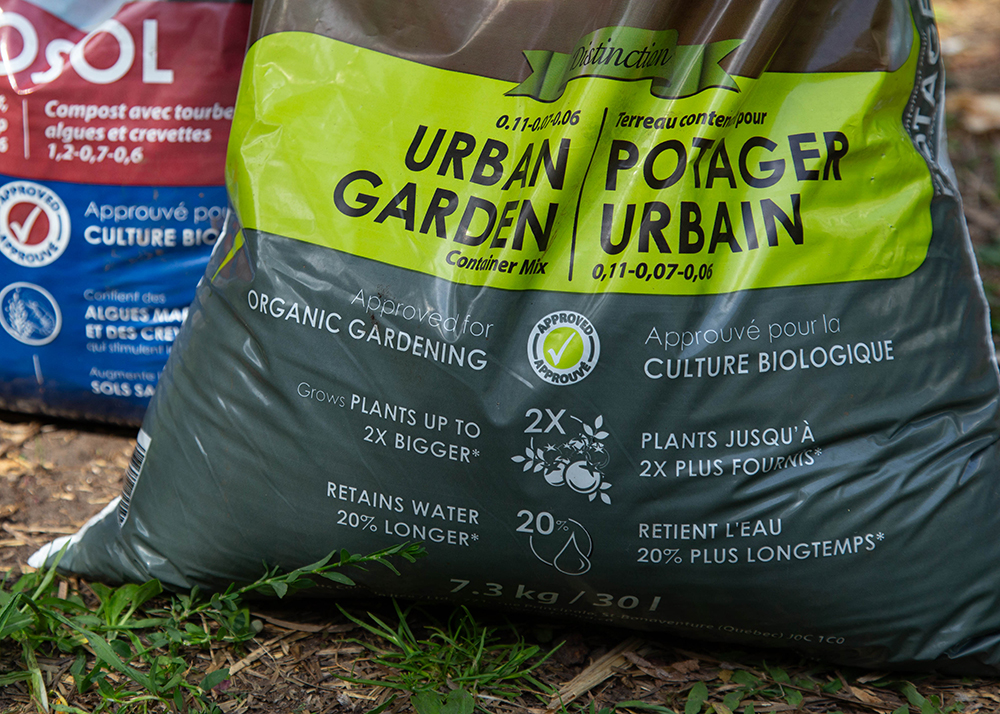
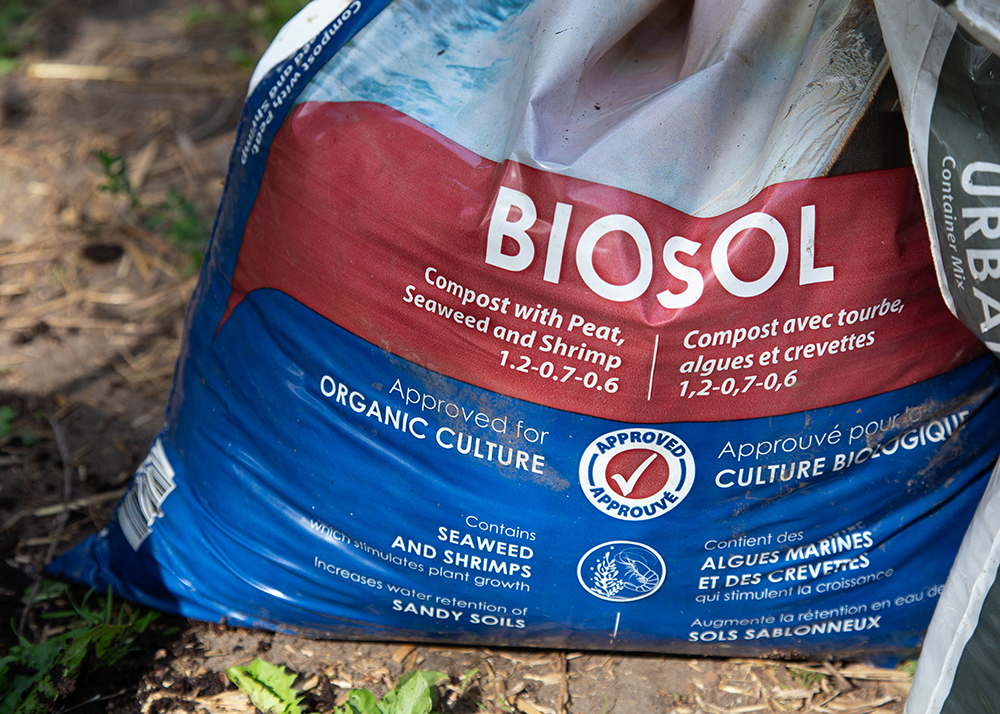
“Mix” because for best results with your coffee plant this should have some compost mixed in. After all, it’s going to live in this soil for a year or more (likely) and coffee plants are heavy feeders that suck up a lot of nutrients. I tend to mix about 2/3 standard potting soil with 1/3 garden compost or composted manure. - Water
- Your precious time & care
Optional:
- Organic Soil Amendments
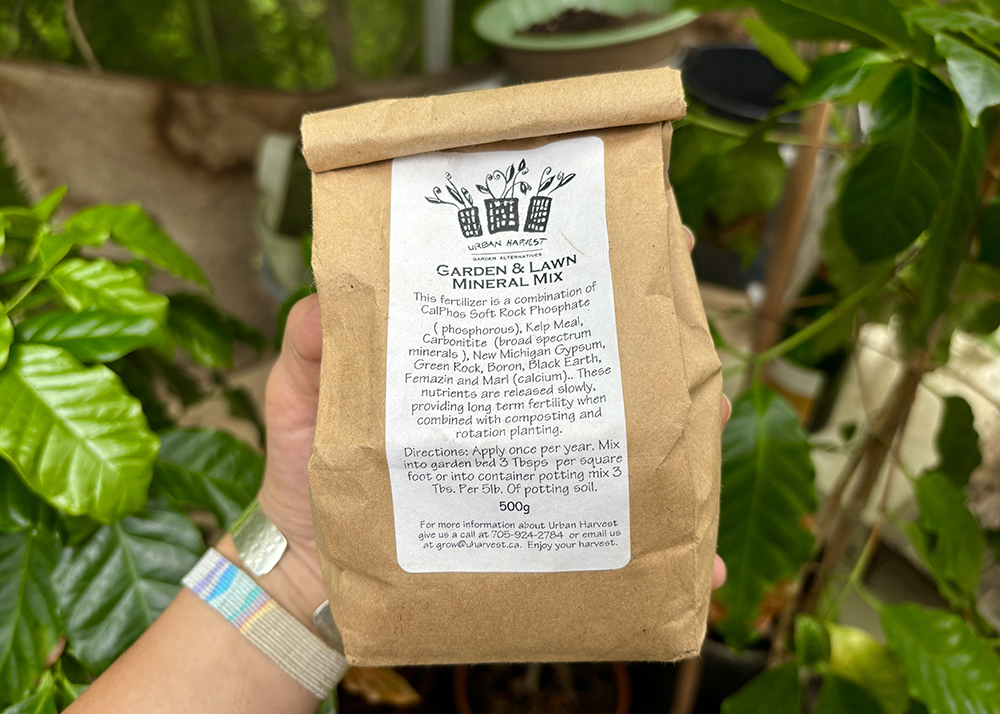
These are great for adding even more nutrients and minerals to your soil mix. Available options for enhancing a soil mix using organic ingredients will depend on where you live because many of these ingredients are typically only found at specialty garden stores or online. Look for bone meal, seaweed meal, kelp meal, worm castings, rock phosphate, wood ash, alfalfa, and soy bean meal. I try to always have a few of these on hand at all times (I can always buy kelp meal and rock phosphate locally thanks to Urban Harvest). I mix in roughly a tablespoon of these, with worm castings being the exception … Warm castings are ‘pure gold’ to soil, so if I have a lot of those I mix in as much as possible. - Gloves
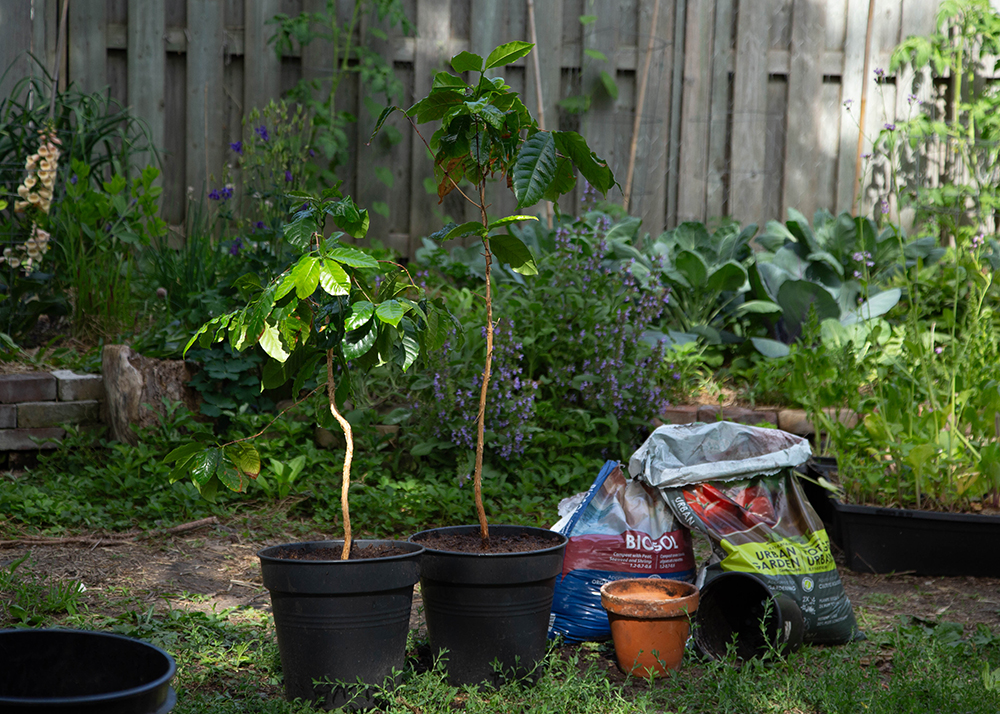
Re-potting a Coffee Plant in 5 Easy Steps:
#1 Prepare the soil mix
Measure out and mix your soil, compost and any organic soil amendments. Tip: Do this in a separate container that is a bit larger than the new coffee plant pot so that you end up with a bit more soil mix than you need in order to have some left for top-filling after watering.
After mixing, pre-moisten the potting mix by adding water until it’s damp—Not dry, and not soaked.
#2 Prepare the new pot
Prepare your new pot by making sure it’s clean and pre-filling it with at least a few inches of your pre-moistened soil mix. This few inches of soil at the bottom of the pot provides space for the roots to grow downwards and into.
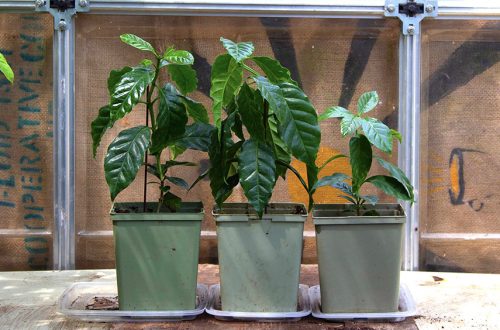
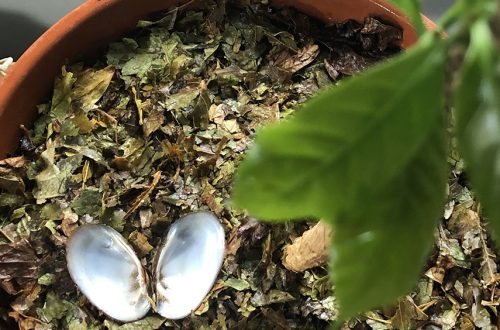
#3 Remove the plant & inspect its roots
Remove the coffee tree from its original pot. Tip: Do this in the shade, not in direct sunlight and move quickly. Roots don’t like to be exposed to light. If the root ball is looking really healthy as it should, try to keep as much root and soil intact on each plant as possible. If the root ball is looking overly compacted and tangles, you may decide to loosen up the dirt and try to untangle some with your fingers, or loosen them up by jabbing a knife through and twisting a couple of times, horror show style, if they are really, really bad. Also cut off any noticeably dead roots.
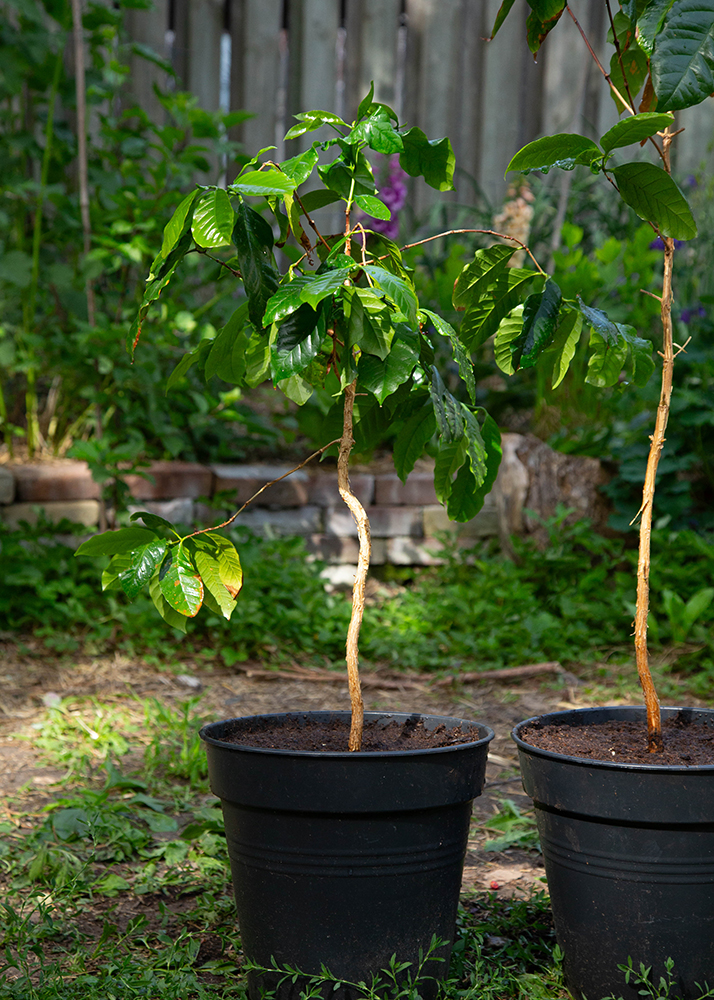
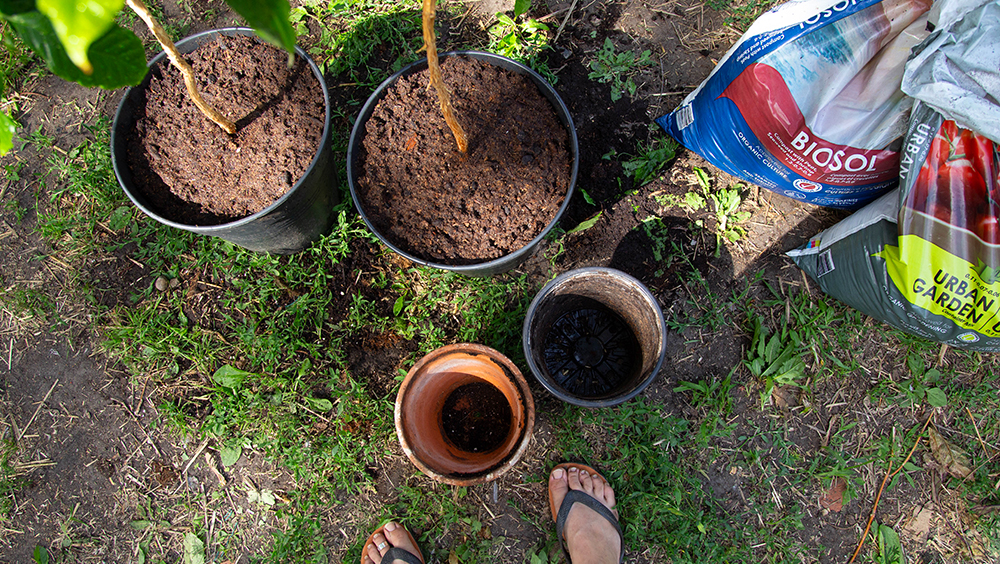
#4 Position the plant in the new pot & fill in with soil mix
Position the newly uprooted coffee tree in the center of the newly prepared pot, and gently fill in the rest of the pot with your pre-moistened soil mix. The trunk should be positioned at a depth so that the roots will be completely covered in soil, and the base of the trunk will be flush with the soil line. Very gently fill any major gaps in the soil by poking it down with your fingers while attempting to leave some small air pockets. (For pictures of this process see here).
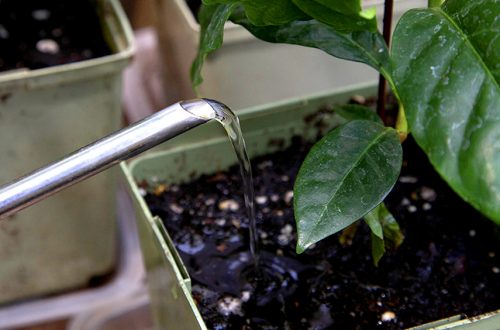
#5 Give the newly planted coffee tree a good drink
Gently and thoroughly water the newly potted-up plant. Don’t be afraid to pour water on the leaves and trunk as well. Coffee loves moisture! You’ll probably find that it compresses the soil as you water, in which case you can add some of that leftover soil mix to the pots as needed. This watering after a re-pot should be a deep one to allow those roots to settle into their new home. Make sure water drains out of the bottom of the container. After a few minutes or so, remove any excess water and keep the plant in a warm, shady spot with filtered sunlight until it perks back up and starts growing again.